Intrusion
Intrusion Screen
Screen Overview
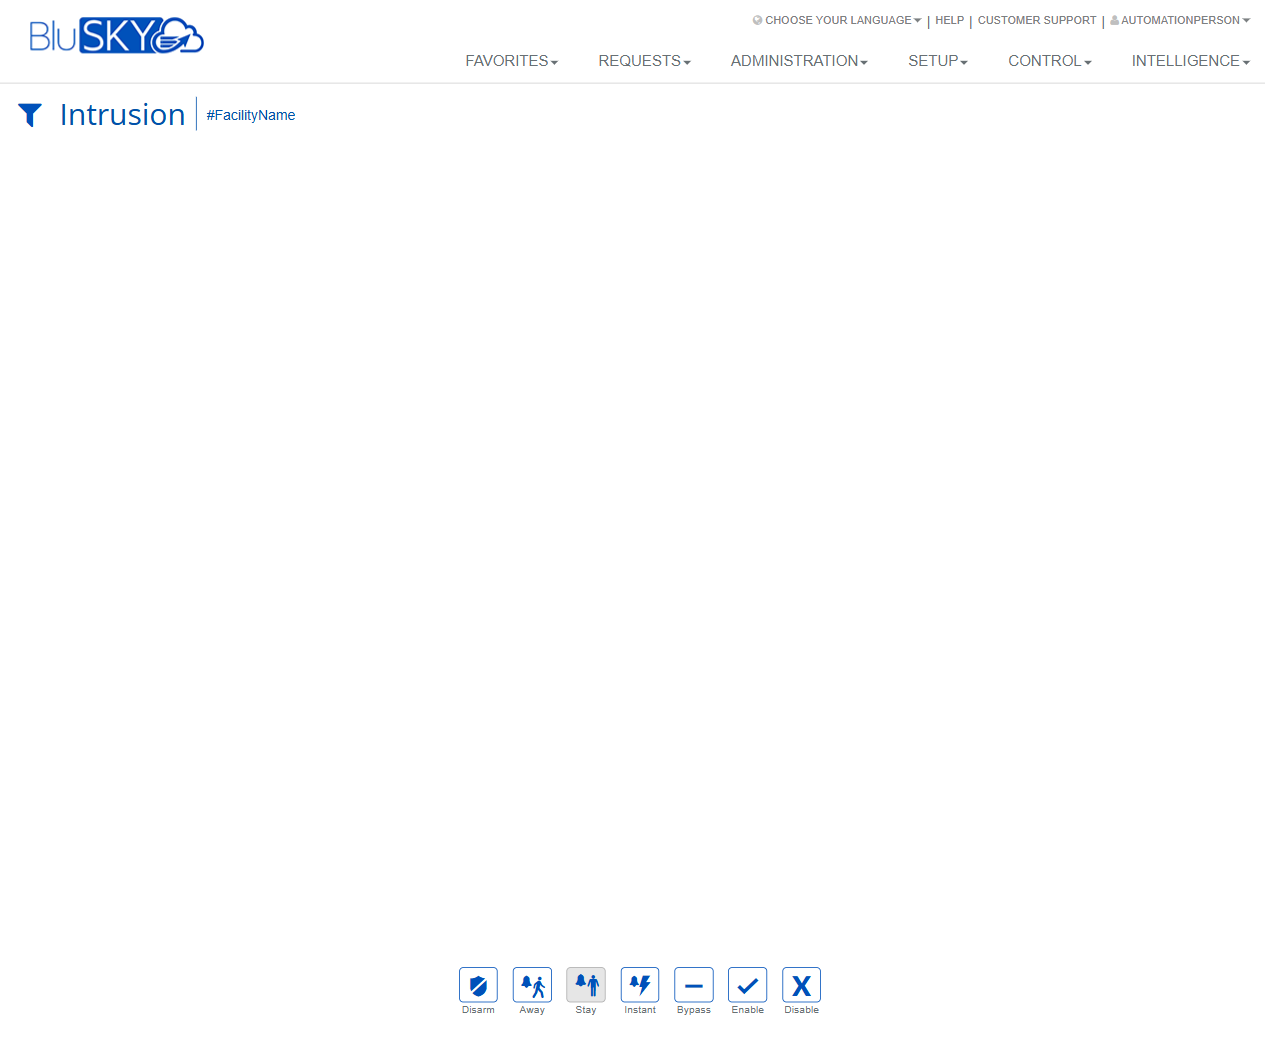
The Intrusion screen provides operators with real-time arm/disarm controls for an integrated intrusion system at a selected facility. From this page you can choose a facility filter and issue panel commands such as Disarm, Away, Stay, Instant, Bypass, Enable, and Disable.
Field Definitions
| Field Label | Definition | Notes |
|---|---|---|
| Intrusion (page title) | Identifies the current control screen for intrusion functions. | Read-only. |
| Filter (funnel icon) | Opens filtering to target the facility and, when available, specific areas/partitions or points. | At least one facility must be selected to enable most actions. |
| #FacilityName (filter chip) | Displays the currently selected facility context. | Click the “x” on the chip (when shown) to clear; multiple facilities may be supported depending on permissions. |
| Content Area | The main workspace where selected areas/partitions or points appear for control and status. | May be empty until a facility is selected or data loads. |
| Disarm (button) | Sends a disarm command to the selected area/partition. | Requires appropriate privileges; may prompt for confirmation. |
| Away (button) | Arms all zones in the selected area with exit and entry delays. | Typical use when the space is unoccupied. |
| Stay (button) | Arms perimeter zones while allowing interior motion zones to remain inactive; entry delay applies. | Typical use when occupants remain inside. |
| Instant (button) | Arms perimeter zones with no entry delay. | Triggers immediate alarm on entry; use with caution. |
| Bypass (button) | Temporarily excludes selected zones/points from arming. | Usually valid for one arming cycle; selection of target zones required. |
| Enable (button) | Re-enables a previously disabled zone/point or feature. | Restores to normal supervision/arming eligibility. |
| Disable (button) | Disables a zone/point or feature to prevent supervision and alarms. | Typically requires elevated permission; impacts monitoring. |
Screen Actions and Functions
- Filter – Choose facility and, when available, specific areas/partitions or points to control.
- Disarm – Disarms the selected area/partition.
- Away – Arms all zones with standard entry/exit delays.
- Stay – Arms perimeter while allowing interior movement; entry delay remains.
- Instant – Arms perimeter with no entry delay.
- Bypass – Bypasses selected zones for the next arming cycle.
- Enable – Re-enables a disabled zone/point.
- Disable – Disables a zone/point to prevent alarms and supervision.
Usage Instructions & Examples
-
Select a Facility
- Click the Filter (funnel) icon.
- Choose the desired facility and, if applicable, the target area/partition.
- Apply. Confirm the #FacilityName chip appears.
-
Arm the System in Away Mode
- Ensure doors/windows are closed and required zones are ready.
- Click Away.
- Confirm the prompt (if shown). Exit during the countdown.
-
Arm the System in Stay or Instant Mode
- With the facility selected, choose Stay to arm perimeter with entry delay, or Instant to arm perimeter without entry delay.
- Confirm any prompts. Remain inside as needed.
-
Disarm the System
- Ensure the correct facility/area is selected.
- Click Disarm.
- Provide any required authentication/confirmation.
-
Bypass a Zone Prior to Arming
- Use the Filter to locate the area/points view.
- Select the specific zone/point to exclude.
- Click Bypass and confirm.
- Proceed to arm using Away, Stay, or Instant.
-
Disable/Enable a Point
- Select the point from the content area.
- Click Disable to take it out of service (or Enable to restore).
- Verify status updates before arming.
System Behaviors and Edge Cases
- Commands target the currently selected facility and area/partition; if none is selected, the system prompts to choose one.
- If zones are faulted/open, arming may be blocked unless the panel supports force arm; the UI may prompt to bypass or cancel.
- Instant mode removes entry delay; any entry will alarm immediately.
- Bypass typically lasts for a single arming cycle; after disarm, zones return to normal unless explicitly disabled.
- Disable removes a point from supervision; alarms and troubles may be suppressed for that point until re-enabled.
- Buttons may be disabled based on user permissions, facility selection, or panel connectivity.
- All actions are logged to the audit trail; some deployments also generate notifications or events.
- If the intrusion panel or network is offline, commands will fail and an error message is shown; retry after connectivity restores.
Permissions
- Accessible to users with Intrusion Control privileges (e.g., Security Operators, Tenant Administrators, Global Administrators).
- Disarm and arming modes (Away/Stay/Instant) require Arm/Disarm permission on the target area/partition.
- Bypass, Enable, and Disable require elevated permissions for point management.
- Users without sufficient rights can view but cannot issue commands; action buttons appear disabled.
Linked Workflows
- Review alarms and operator activity in the Events/Alarms reporting screens.
- Configure panels, areas/partitions, and points in Setup > Hardware (intrusion devices) before using this control screen.
- Create notifications or automation rules that react to arm/disarm events in the notifications/automation modules.
Reference Image Links